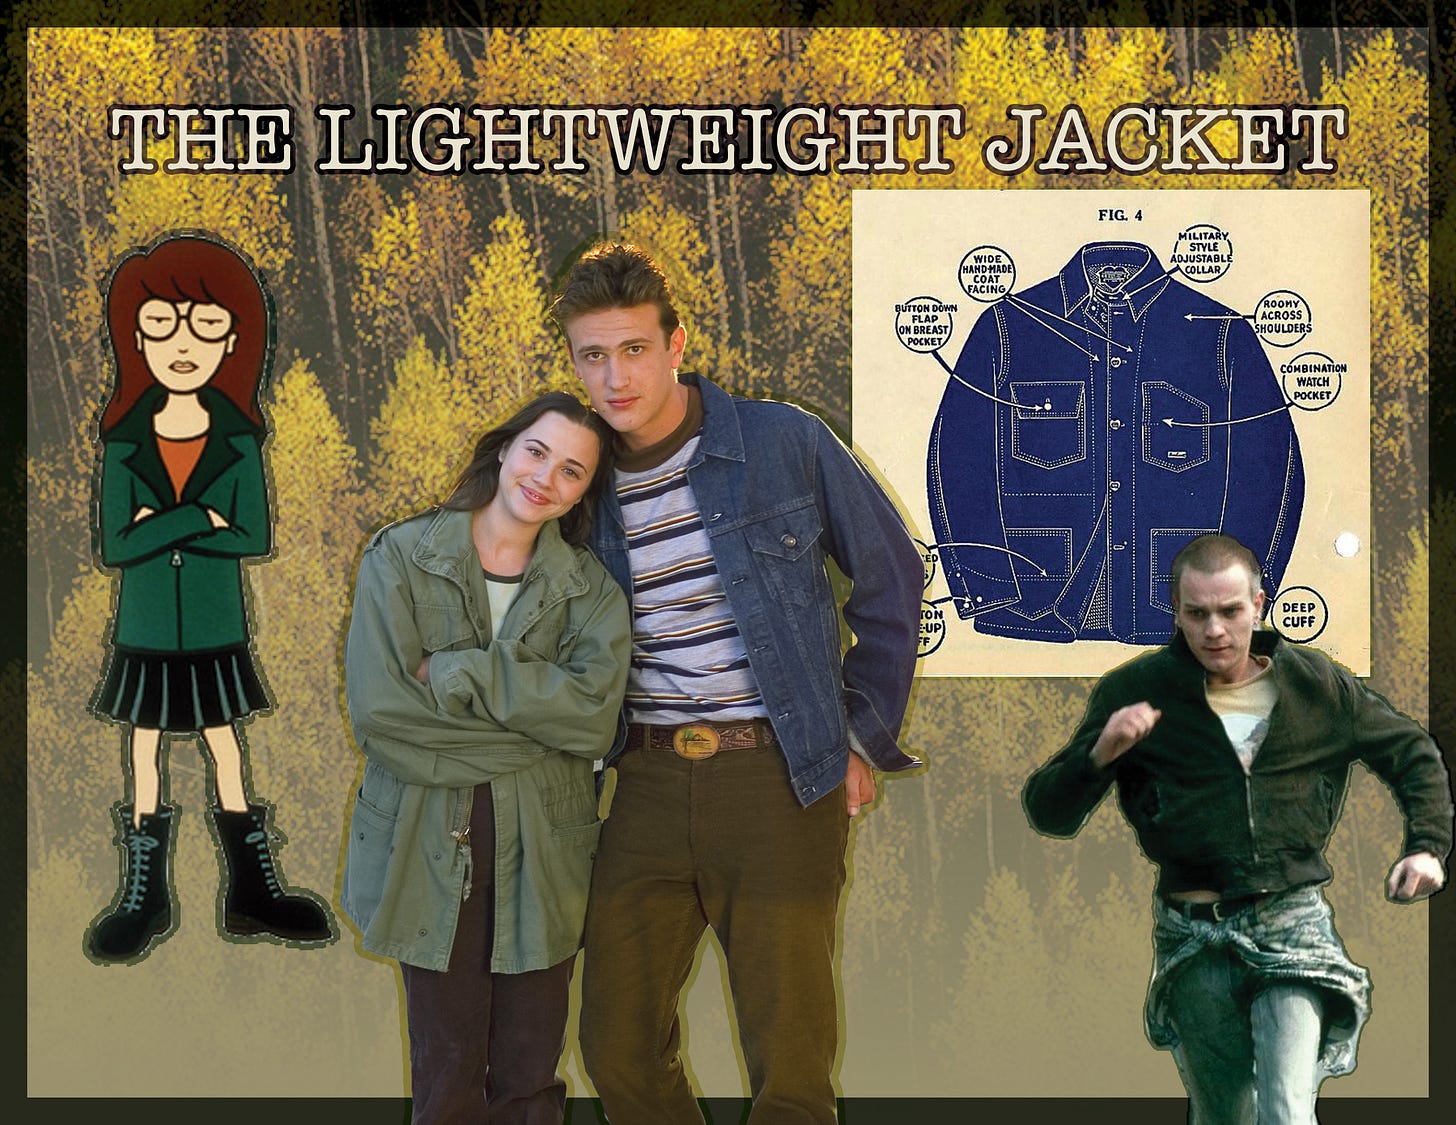
The importance of transitional layers (hang on to your light jacket).
One jacket, four ways. Also read the first in a points-of-measurement series guide, helping you find your right jacket fit.
Above: Daria TV series illustration by Glenn Eichler and Susie Lewis Lynn on MTV, (1997-2002), Linda Cardellini & Jason Segel in Freaks & Geeks, (1999), Ewan McGregor in Trainspotting, 1996, vintage trucker jacket illustration via primermagazine.com.
We’re nearing the confusing pre-fall (literally, not in fashion collection terms) time of year, and nothing says you’re half-in summer, half-in fall like a good jacket. I’m not talking blazers or knitwear—that would be too easy! Something about the unpredictable nature of a seasonal shift intrigues me; you are forced to dress transitionally. Items that don’t usually go together may be worn together—not in a too-whacky way, but, say, exposed legs with covered arms. This particular mash-up of a long sleeved item worn with shorts I find delightful, ever since my older sister Meg wore a long sleeve t-shirt with shorts when I was a kid and I told her “that outfit doesn’t make sense”. She gave some sassy retort along the lines of “I don’t care”, and from then on, I remember thinking this unexpected, seasonless outfit combination was cool as hell.
Working as a designer for brands who sold in-between seasons, too, was also often met with dread. The design team would be asking ourselves questions like: what do people want to wear before the hottest days of summer, or the confirmed-it’s-actually-cold-now days of fall? Is everyone just waiting with bated breath for Pumpkin Spice Latte weather to bust out their solely autumnal wardrobe, anyhow? Is there a point to transitional dressing?! But now I’ve reached an open-mindedness about transitional dressing, celebrating the times where my outfits get to make less sense…I urge you to do the same if you, too, like to wax poetic on personal style.
But enough talk on weird outfit combinations, and onto some technical clothing advice. I’m venturing into a points-of-measure (POMs) series to help guide your online shopping search and find your best fit. Let’s start with the aforementioned jacket. All you will need is measuring tape.
Diagram via Clothing Patterns 101
First: you need to identify the sleeve style, or rather armhole, of your jacket—or the jacket you would like to purchase. Is it a set in sleeve, raglan, dolman or dropped shoulder? I’m focusing on set in sleeve measurements for this practice. Second, you will need to decide what fit you are looking for: boxy, snug, etc. Third: if you have an existing jacket of which you like the fit, or even just to reference/compare to measurements you see online, that is the best way to really gauge fit. And always measure garments completely flattened and fastened, i.e. zipped or buttoned up all the way. Fourth, identify if the fabric has stretch or not. Lastly, it is very helpful to know your body measurements so I’ve shown a measurement guide for those, too, above. Below is a list of measurements with photo references to the jacket I’m wearing of how to take garment measurements.
Body length from HPS (high point shoulder) to bottom edge of garment. A length measurement taken from CF (center front) will vary based on the design of the garment and can therefore indicate almost nothing as to the overall length—so always use the HPS length measurement!
Sleeve length from top of sleeve cap straight to bottom of cuff. Measuring along the underarm seam indicates nothing because, like the above, it is also design-dependent. For example the armhole could be dropped/oversized in which case you get a super short underarm measurement which won’t help you know the actual sleeve length—just measure where I’ve shown.
Waist (this is where referencing your body measurement will be the best option) but very generally it’s 15” down from HPS. Measure straight across at 15” down. This is a circumference measurement so, obviously, you will need to double it to get the total waist.
Across shoulder: Measure seam to seam across the top-most point across the front shoulder. I find this one is best understood when compared with an existing garment of which you like the fit, if possible.
Chest: Measure 1” below armhole straight across. Oftentimes online vintage/second hand sellers will call this measurement “pit to pit” which is fine, but technically 1” below the armpit is the best point of measure to gauge chest fit. This is also a circumference measurement so you will need to double it to get total chest measurement.
Sweep/hem opening: This one is like a hip measurement for your jacket. Measure straight across, edge to edge on the garment. If the hem is curved, don’t worry—you still always want to measure straight across for jacket sweep. This is a circumference measurement, too, so double it to get the total sweep.
Armhole: Measure the front armhole along the curve, following whatever fabric of the garment is showing, while laying completely flat (I just mean you do not measure seam to seam). If you want to get extra technical, you can measure the back armhole too.
Bicep: easy to forget this one but if the jacket is more fitted it can be really uncomfortable to have too tight a sleeve, especially for a woven garment, and even more so one that doesn’t have any stretch. Measure 1” below the armhole on the sleeve, straight across. Circumference measurement again so double it to get total bicep.
These are the essentials for finding your perfect-fit jacket. There is really no reason anyone shouldn’t be able to enjoy vintage online shopping for fear of not getting the fit right. If the seller has not provided these measurements, you can always ask for more, or if you wanna go crazy, you can ask for photos with the measuring tape in them (a lot of sellers provide these from the get-go and I find them super helpful because you can’t always trust someone’s measurement-taking abilities, especially if they don’t have the above list)!
Please note that if you do not have a reference garment when measuring and you are going solely off your body measurements, you will need to add at least an 1” of ease to every measurement from body—>garment. So if your waist measures 27”, you will want the jacket to measure at least 28”. Back to the second principle I outlined, your desired fit will determine how much ease you want. The more oversized you want, the more eeeease. I sized up in my below jacket so the sleeve is longer than standard.
Above: 1. Jacket w/ Villeine LeRoy Overalls, 2. Jacket w/ fleece boxers, 3. Jacket w/ second hand Ben Davis work pants & Villeine George Harness Pockets worn w/out harness, 4. Jacket w/ collar over top & second hand Helmut Lang skirt.
I’m wearing a Proenza Schouler cotton twill unlined jacket/shirtjac of the trucker adjacent variety. Leather, suede, bomber, satin and all the other jacket varieties will have to wait for future… ;)
Below are three previous looks since starting CRACD for more styling references—can’t forget a bolo tie look.
Above: Lily Rose Depp & her girlfriend, 070 Shake in L.A., 2023
A.P.C. Vianney cotton olive green jacket made in Tunisia $400
Vintage Ralph Lauren Polo Denim Jacket made in USA sz men’s M $119
Until next time, xo Hannah
LOVE that someone has finally identified those funny transition weeks as the seasons change, and acknowledged that they are tricky fashion-wise. I just wore a light dress today, with sandals and a light cotton sweater. It felt just right for our weather!